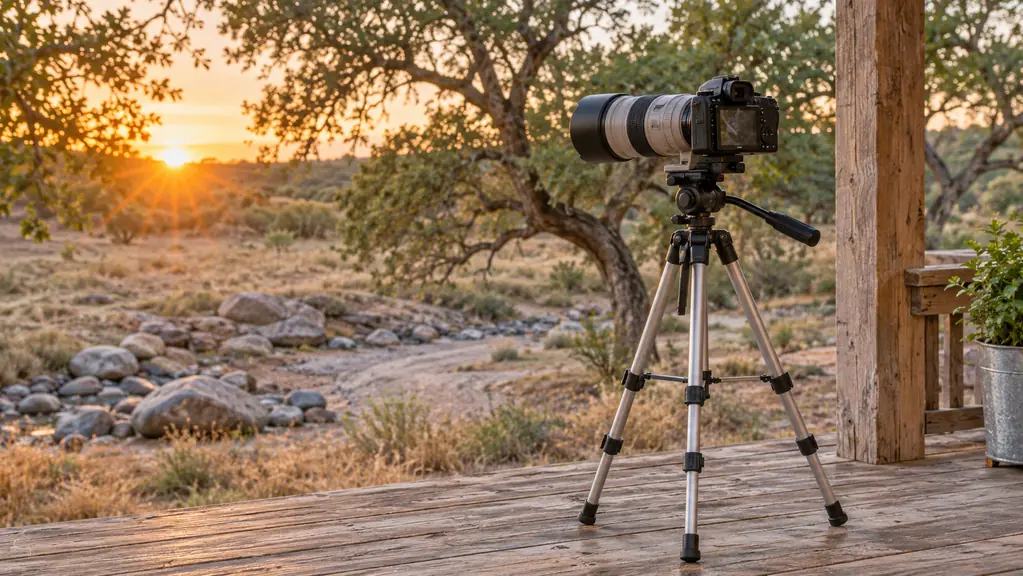
The first time I put my long lens on a tripod, my pictures got worse. I had spent a whole spring blaming my hands. Every deer at the dry creek bed came out a little soft, every turkey a little smeared, and I decided that at 63 my arms simply were not what they had been. So I bought a tripod, set it up on the back porch, and waited for the blur to go away. It did not. It took me a few months of bad frames to understand why. A tripod does not make your hands steady. It takes your hands out of the job and puts a different set of problems in their place, and every one of those problems is solved by how you set the thing up, not by what you spent.
The tripod I use is the K&F Concept 64 inch aluminum travel tripod, bought in April 2024. It has been to Lost Maples, down to South Llano River State Park, and out to Aransas twice in the back of the Outback. This is not a review of it. It is the five steps I go through, in this order, before I point a camera at anything alive, and they are the difference between a frame worth keeping and one I delete in the evening. None of it needs a photography vocabulary. It is closer to setting up a card table than to anything artistic.
The Piece of Gear Doing the Actual Work
The K&F Concept 64 inch travel tripod weighs 1.15 kg, folds down to 15.5 inches, and carries up to 17.6 pounds, which is far more than one camera and one zoom lens will ever ask of it. It lives in its bag in the back of the Outback and goes up on the porch in about a minute.
Amazon Check Today's Price on Amazon →Step 1: Set the Height to Your Eye, Not to the Sky
Everybody runs a new tripod up to its full height the first time, because it goes up and it seems a shame not to. That is the wrong instinct with a long lens. The K&F Concept opens from 20.4 inches to 64 inches across four leg sections, and every inch you add up top comes out of the thinner sections at the bottom. The taller it stands, the more of that total length is the skinny part, and the skinny part is what sways when a breeze crosses the porch.
What I do instead is set it so the camera comes to my eye with my feet flat and my neck straight. Standing, that is roughly shoulder height on me. When I plan to sit in the porch chair for an hour, which is most of the time, I set it lower so I can sit upright and look through without leaning forward. The flip leg locks open and close with one hand each and they shut hard, which matters more than it sounds like it should. A leg that creeps down two minutes into a wait will move the whole frame, and you will not notice until you look at the back of the camera.
On the rare morning when a bird is high in the live oak and I am tempted to run all four sections out and point up at it, I remind myself that the shot will be soft. Better to move the chair back twenty feet and keep the tripod low. The animal does not care how tall your gear is.
Step 2: Put the Weight Over the Legs, Not Out Front
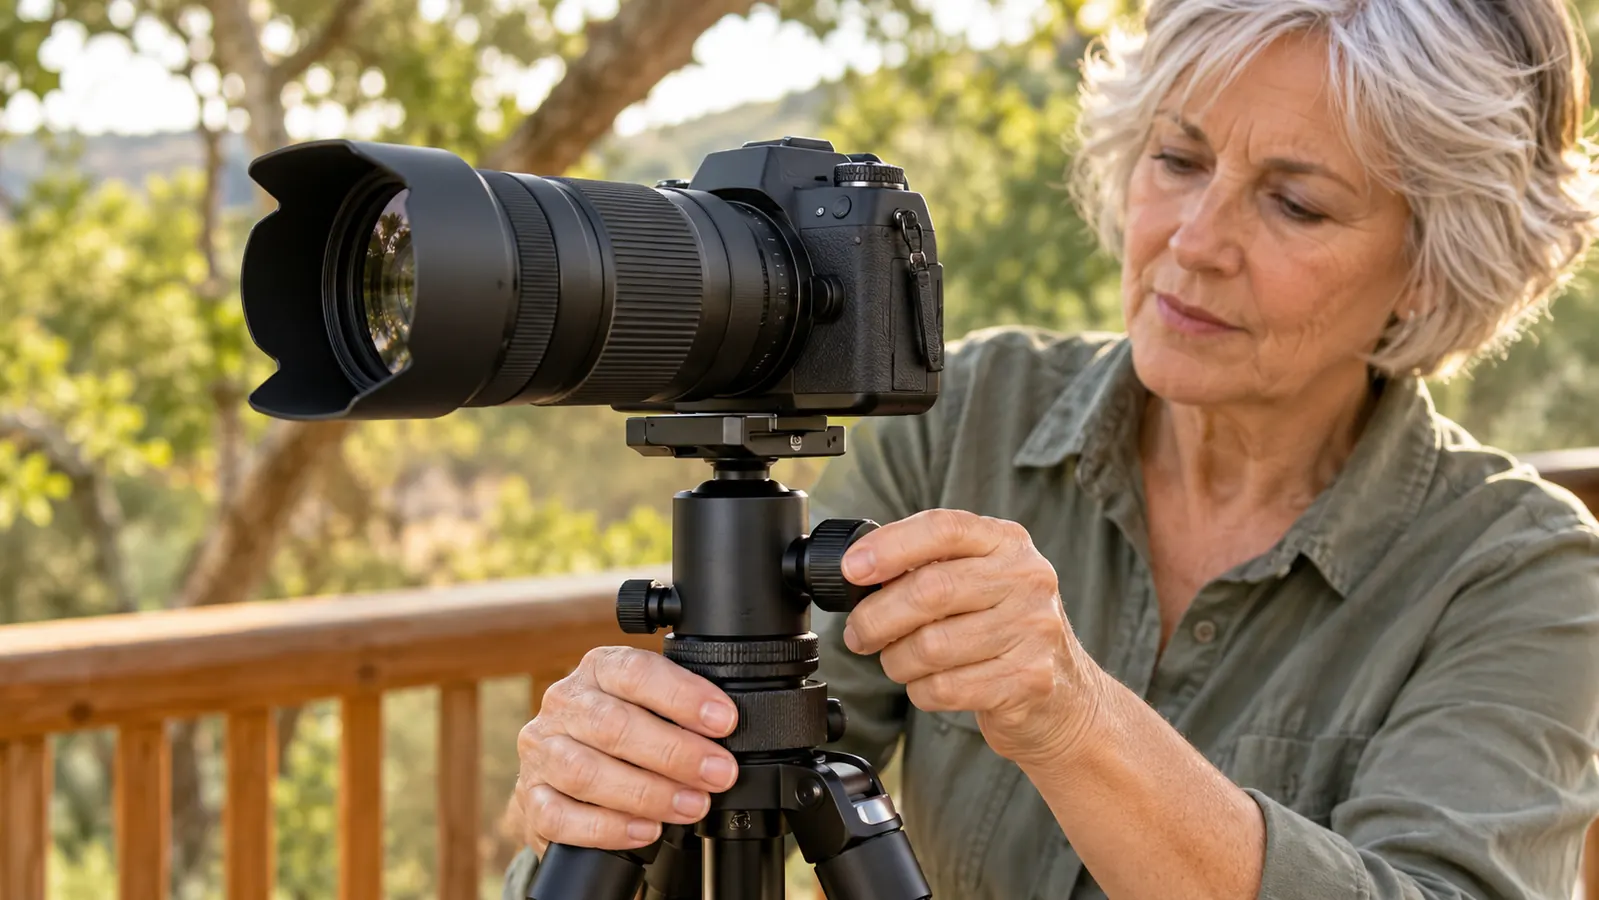
A long lens is a lever. In your hands that is fine, because both hands are under it. On a ball head it is a weight hanging out past the top of the tripod, and the farther forward that weight sits, the more the whole rig wants to nose down while you are waiting.
The fix is not a heavier tripod. It is where you park the camera on the plate. The K&F Concept comes with a quick release plate that slides into the 36mm ball head. I set the camera down with the lens on it, then before I tighten anything I look at the rig from the side, straight on, the way a carpenter sights a board. If the front of the lens is hanging out past the front leg, I slide the plate back until the balance point sits over the ball head. Then I tighten. The difference in how the whole thing behaves is not subtle.
That head is rated to 8 kg, which is a great deal more than my camera and one zoom lens weigh together. The tripod itself is rated to 17.6 pounds. That headroom is the reason the movement stays smooth when I loosen it. A head straining at its limit moves in jumps, and a jump of a quarter inch at 400mm is a bird halfway out of the frame.
Step 3: Level It Once, Then Move the Head, Not the Legs
Once the legs are planted, they stay planted. Every time you pick a leg up to chase something you start over, and the animal has already moved by the time you are set again. Instead I get the tripod roughly level and then do all of my aiming with the head, which turns through 360 degrees and tips to whatever angle the animal is at.
In practice it is two moves. I loosen the head with one hand while keeping my eye on the subject, not on the camera. I move until the subject is in the frame. Then I tighten. The first dozen times I did this I overthrew it and had to hunt back and forth, and whatever I was looking at left. Now I loosen less. Most of my aiming happens with a small amount of drag still on the ball, which keeps the rig from flopping while I nudge it into place. Loosen everything and it will swing on you.
One habit worth building: check that the head is tight before you take your hand off it. I have lost more frames to a camera drifting slowly downward during a thirty second wait than to anything else I have done wrong.
Step 4: Stop Adding Shake of Your Own
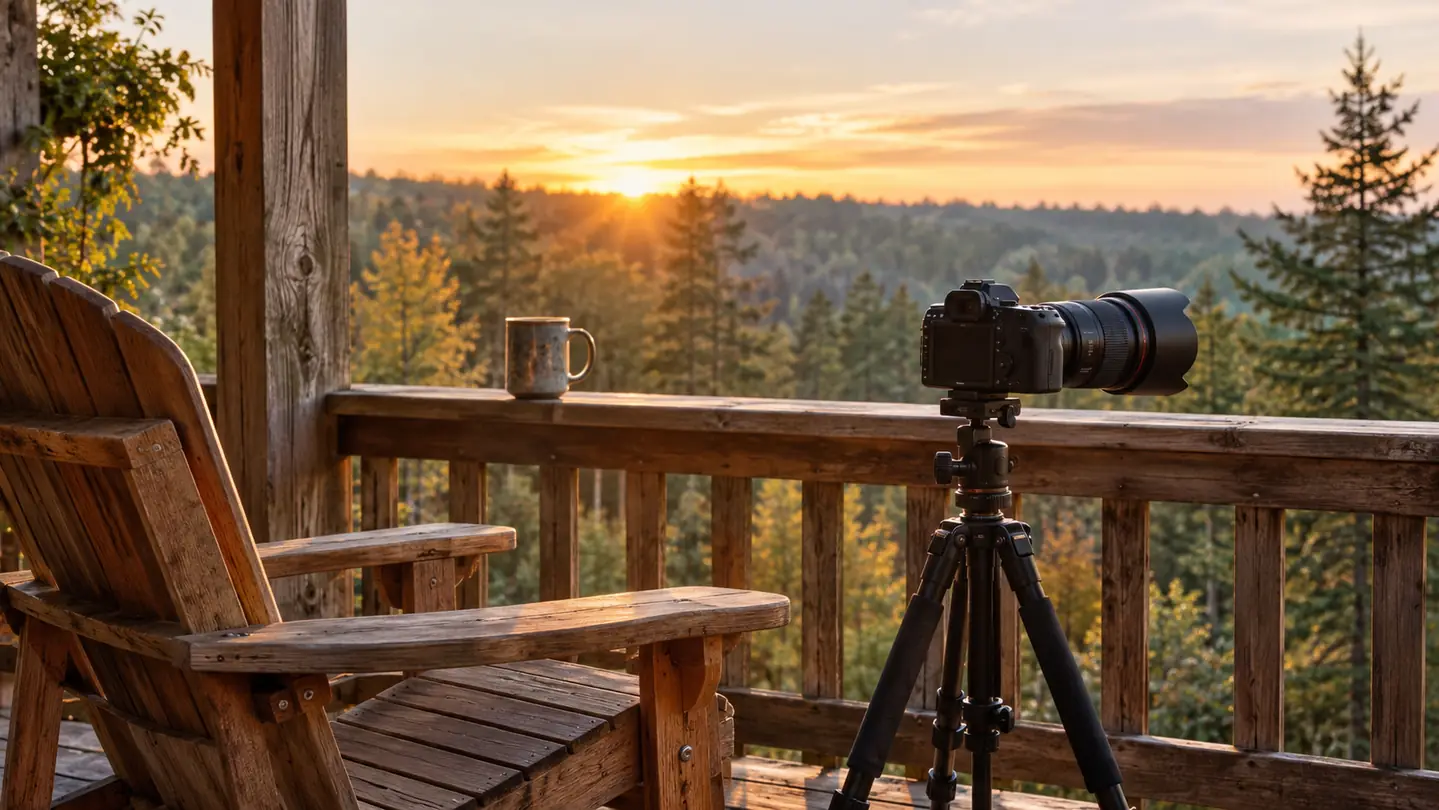
A camera sitting on a tripod is not finished shaking, because you are standing next to it. Footsteps on a wooden porch carry straight up through the boards. A hand resting on top of the lens carries. Paul coming out the back door to ask whether I want more coffee carries, and I have learned to answer him without turning around.
The mechanical half of this is the self timer. On a tripod, a two second delay means the camera has stopped moving from the press before the shutter opens. I also switch the lens stabilization off when the camera is mounted, because that system exists to correct the small shake of your hands and there is nothing here for it to correct. Both of these are one time settings and then you stop thinking about them.
Wind is the other one. At Aransas the little tripod that came with my spotting scope shook in the coastal breeze, and that is exactly the reason I ended up with the K&F Concept in the first place. My answer now is not to fight it. I set up on the sheltered side of whatever is available, I keep the tripod lower than I would like, and if the gusts are steady I wait them out. Waiting costs nothing and a soft frame costs the morning.
Step 5: Practice the Move When Nothing Is Happening
The five minutes before anything shows up are the most useful five minutes of the morning. I pick a stationary target, a fence post, a stump down at the creek bed, the feeder post, and I run the whole sequence on it. Loosen, move a few degrees, tighten, hands off. Ten or fifteen repetitions. By the end of it I know exactly how far the head travels for a given amount of hand movement, which means when a fox steps out I am not learning my own equipment while the fox is standing there in front of me.
This sounds like a small thing and it is the one that changed my hit rate the most. My tripod is a lightweight travel model at 1.15 kg, and light gear rewards a light touch. A person who has practiced the touch gets sharp frames out of it. A person who has not gets a camera pointed at the wrong part of the creek bed, and blames the tripod.
What Else Helps
The tripod is the last step of the morning, not the first. I find the animal with the Vortex Crossfire binoculars, because glassing a treeline with both eyes open is faster than swinging a long lens around hoping. The tripod is what I go back for once I know where something is and I want a photograph rather than a look.
The Gosky spotting scope does the distance work, and it rides on the K&F Concept now as well, especially at Aransas where the cranes are a long way off and the wind is honest about it. The trail camera strapped to the live oak handles everything after dark, which no tripod will ever help with, and the feeder camera on the post covers the cardinals and chickadees while I am still in the kitchen with coffee. Between the five pieces of gear, every question I actually have gets an answer from one of them.
None of this is a system. It is five tools that each do one job, and the tripod does the one about sharpness. The tripod also comes with a phone holder, which I have used exactly twice, and a bag that has kept it alive in the back of the Outback for two and a half years.
The sharpest turkey I have ever taken was shot with both of my hands in my pockets.
If you take one thing from all of this, take the order. Height to your eye, weight over the legs, aim with the head and leave the legs alone, hands off the rig, and practice the movement before the animal arrives. I got four of those five wrong for an entire spring and blamed my arms for it. The tripod was fine the whole time. I was the loose part.
Fifteen Seconds of Setup Between Me and a Sharp Frame
The K&F Concept 64 inch travel tripod folds to 15.5 inches, weighs 1.15 kg, and ships with a quick release plate, a phone holder, a bag and a one year warranty. It goes up on the porch in about a minute and then stays where I put it.
Amazon Check Today's Price on Amazon →